Showing posts with label See-it-all Pouch. Show all posts

Monday, 9 July 2018

See-it-all Pouches - A Comedy of Errors


A few months back when I was making my own See-it-all and Two-in-one pouches I did a little bit of secret sewing for gifts on the side.  My IG followers will know that I just spent the weekend away with my sewing buddies and with that event ahead of me, I desperately wanted to take them a gift I had actually sewed for them.


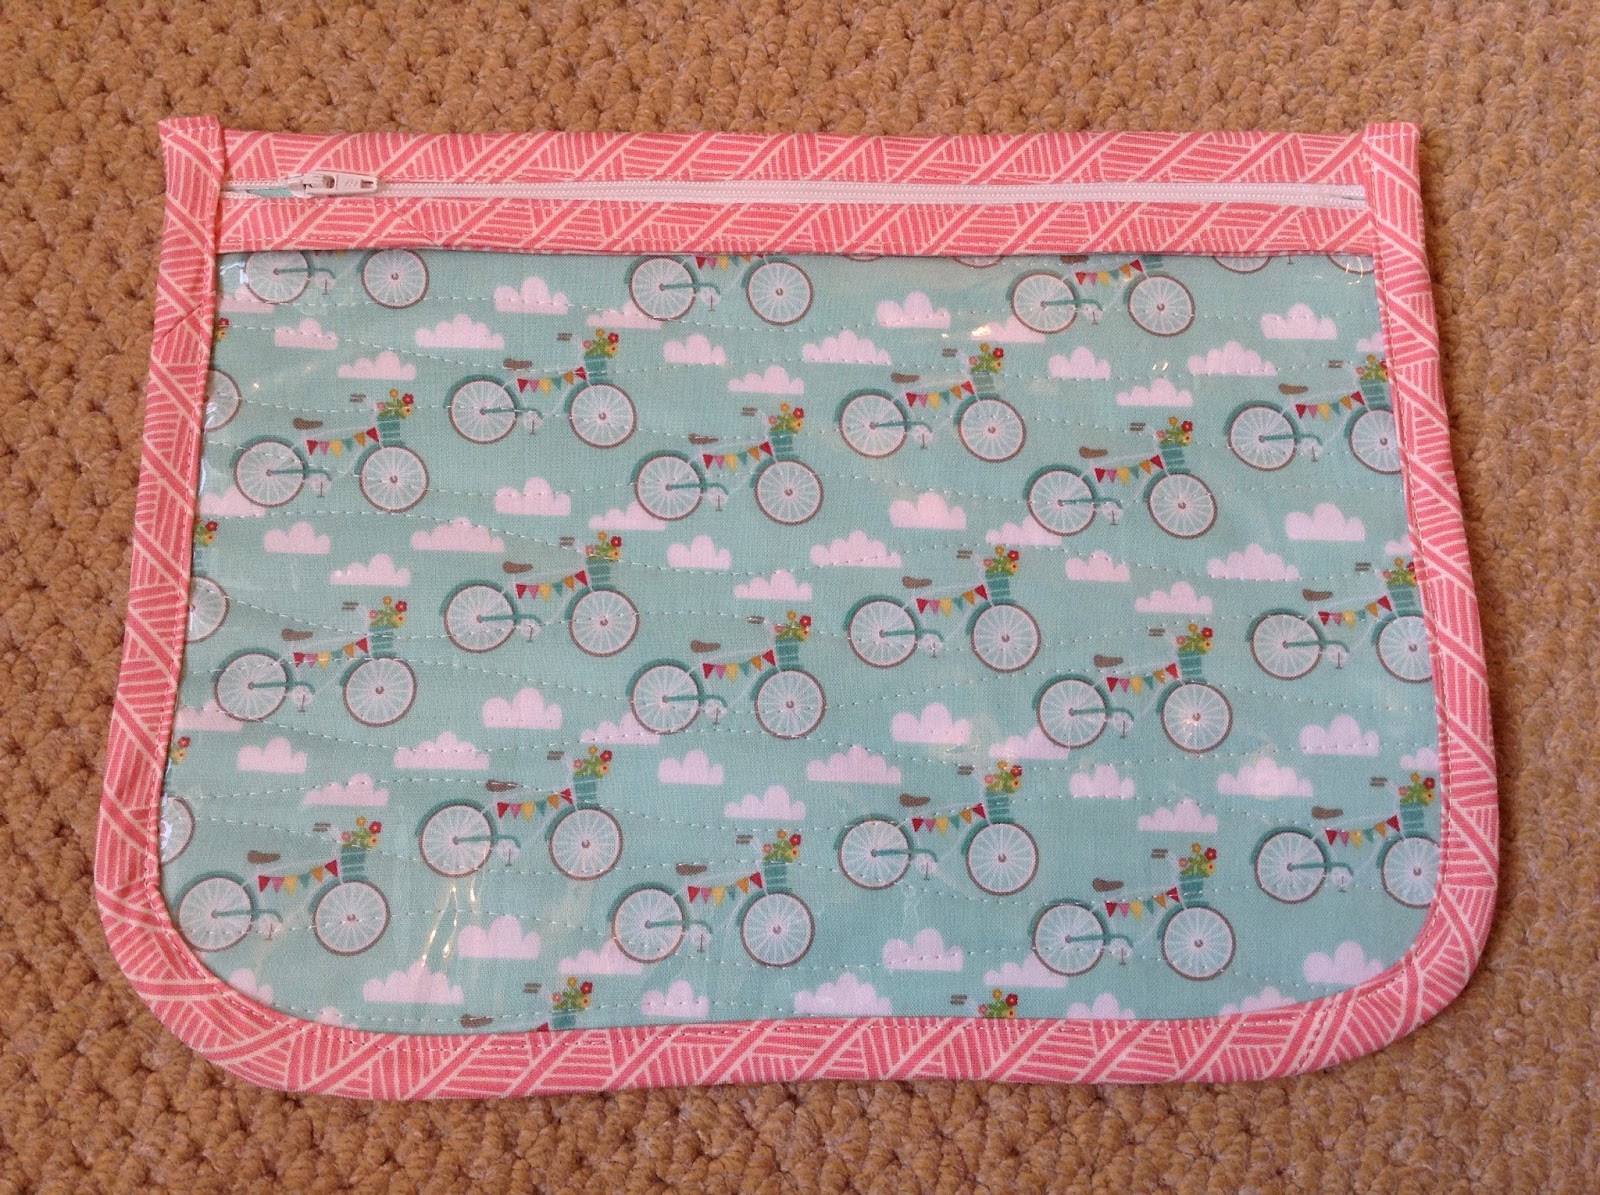
I tried to work from stash and after much deliberation about fabrics to suit each individually, I plumped for just using this fun bicycle print for everyone.  


These pouches use a continuous bias binding across the zipper sides and all the way around the pouch to finish.  Making binding like this was new to me and I did struggle a bit with the diagrams in the book, though fortuitously that same week I had seen this post from Geta Grama which helped demystify things and eventually, all the binding was stitched and pressed.  Though quite why the pattern called for so much to be made, I don't know.  I have heaps of it left over, like enough to do the final binding down both sides, around the curves and across the bottom for another pouch.  For a second pouch all you would need is to cut some straight binding pieces for the zipper side enclosures.

That these pouches got made is something of a minor miracle for there were so many mistakes in their making that you just could NOT make it up.  My mistakes, by the way, not pattern mistakes.

Firstly, there should have been enough fabric to make a fourth pouch for me with the bicycles, too, but a cutting error put paid to that plan, and you'll have noticed that my own pouch is a lovely floral and red combination.


Then, I had problems attaching the biased binding as the top enclosure of the zipper.  See those ugly wrinkles?  Ugh!

Eventually, I resolved the issue with a lot of help from IG friends - I starched the life out of the binding and re-pressed it, I reduced the pressure on my sewing foot, increased my stitch length and sewed very, very carefully. 


There were many attempts at getting these top bindings sorted - the yellow one was unpicked at least five times!!!  While they are not absolutely wrinkle free now, they are much, much improved.

My pouch fiascos did not end there peeps, oh no!

One of the pouches had a melting encounter with the back edge of the iron as I pressed the binding on a different pouch and forgot I'd set the poor, soon-to-be melted one just a little bit offside, but not offside enough!  Since the melt was right on the edge of the vinyl I managed to salvage the pouch just by trimming away the bottom edge.  So it's a bit shorter than the others.


Another one is a bit narrower than its sisters thanks to some cross transfer of the sharpie markings I had used to draw the template shape on to the vinyl.  No idea how that happened, but I did gasp after I has resolved the bias binding issue to find extra black marks half an inch into the vinyl!  Trim, trim, trim and breathe ...

Are you still with this saga?


I think by this stage I was getting a little bit discouraged and disillusioned about my clearly out-of-practice sewing skills.  Knowing that I had the final bias bindings to add along the sides, around the curves and up the other sides of all the pouches wasn't helping either, given the traumas of binding the zippers.


But you know what? They actually went on pretty smoothly and without the dramas of the first lot of bindings.  (My tip, use straight cut pieces to bind your zips and leave the bias cut binding to do the job of curves it is designed for.)

After that comedy of errors I can hardly believe that three See-it-all pouches were actually, finally finished and ready for the addition of a few treats before gifting!  They look sort of cute, in spite of their inadequacies, wouldn't you say?


Thursday, 10 May 2018

Vinyl Pouches


Back in November, when there was sew-a-long for Aneela Hoey's Stitched Sewing Organisers book, I tried out a couple of her pouch patterns but got no further.  There were a couple of the other organisers in the book I fancied trying, so a few weeks ago I decided it was time to have a go at them.  As you can see above I tried the Two-in-one Pouch and the See It All Pouch.


My poor Two-in-one Pouch has a rather religious vinyl middle - hol(e)y - as I had problems stitching the vinyl and it all went wonky had to be redone.  By the time the centre run of stitching is done, lots of other parts have already been stitched (like the zipper enclosures) and since the pouch is just for me, I was too lazy to want to start afresh with an unspoilt piece of vinyl.  Next time I will remember that stitching the vinyl with paper or tissue paper over the top of it works so much better ;-)  Actually, I wish I'd just thought at the time to add a folded strip of fabric down the centre to cover the holes I made.  Hindsight is surely a wonderful thing.


There was also a mishap with the positioning of my kam snap fastening and the two don't quite meet level.  It adds a bit of a tilt to the closure but I'll live with it.  Though it is still a mystery as to how it happened.  I've checked and double checked the pattern and my measuring but am still none the wiser as to why it should be 'off'.  I'm feeling very out of practice sewing little things and making so very many mistakes!!


Anyhow, the pouch will serve its purpose nicely as the holder of many things, no doubt, in spite of its shortcomings.  I kind of think that yummy coral fabric makes up for its little foibles!


When I tried the See-it-all pouch I had learnt my lesson and remembered to have paper between the sewing machine and the vinyl for easier stitching.  I had some pain getting a nice smooth turn on the biased binding strips that were used to cover the zips (yes, the straight bits).  All sorts of horrible puckering was going on, but many suggestions from IG friends and many, many trials later I got a better, though still not perfect, turn on the binding.  Oddly enough, I didn't have any such drama on the curved part of the binding - go figure!

So there you have it - two more pouches tried and finished.  The last one on my list is the Triple Pouch. There are very lengthy instructions for it and it looks a little scary but I'd still like to see if I can do it. Maybe I should start thinking about fabric options ...

Related Posts Plugin for WordPress, Blogger...