Thursday, 10 October 2013

Pixellated Heart Finish


My pixellated heart quilt is complete, all neatly trimmed, bound and labelled.


It will be a gift for a friend as you can see by the label - a little heart porthole label!  (Fuzzy ipad pic.)

This is such a happy finish and I think that truly it must be one of my all time favourites.  Thanks for the fun class J!


Wednesday, 9 October 2013

HipBees hand-quilting progress


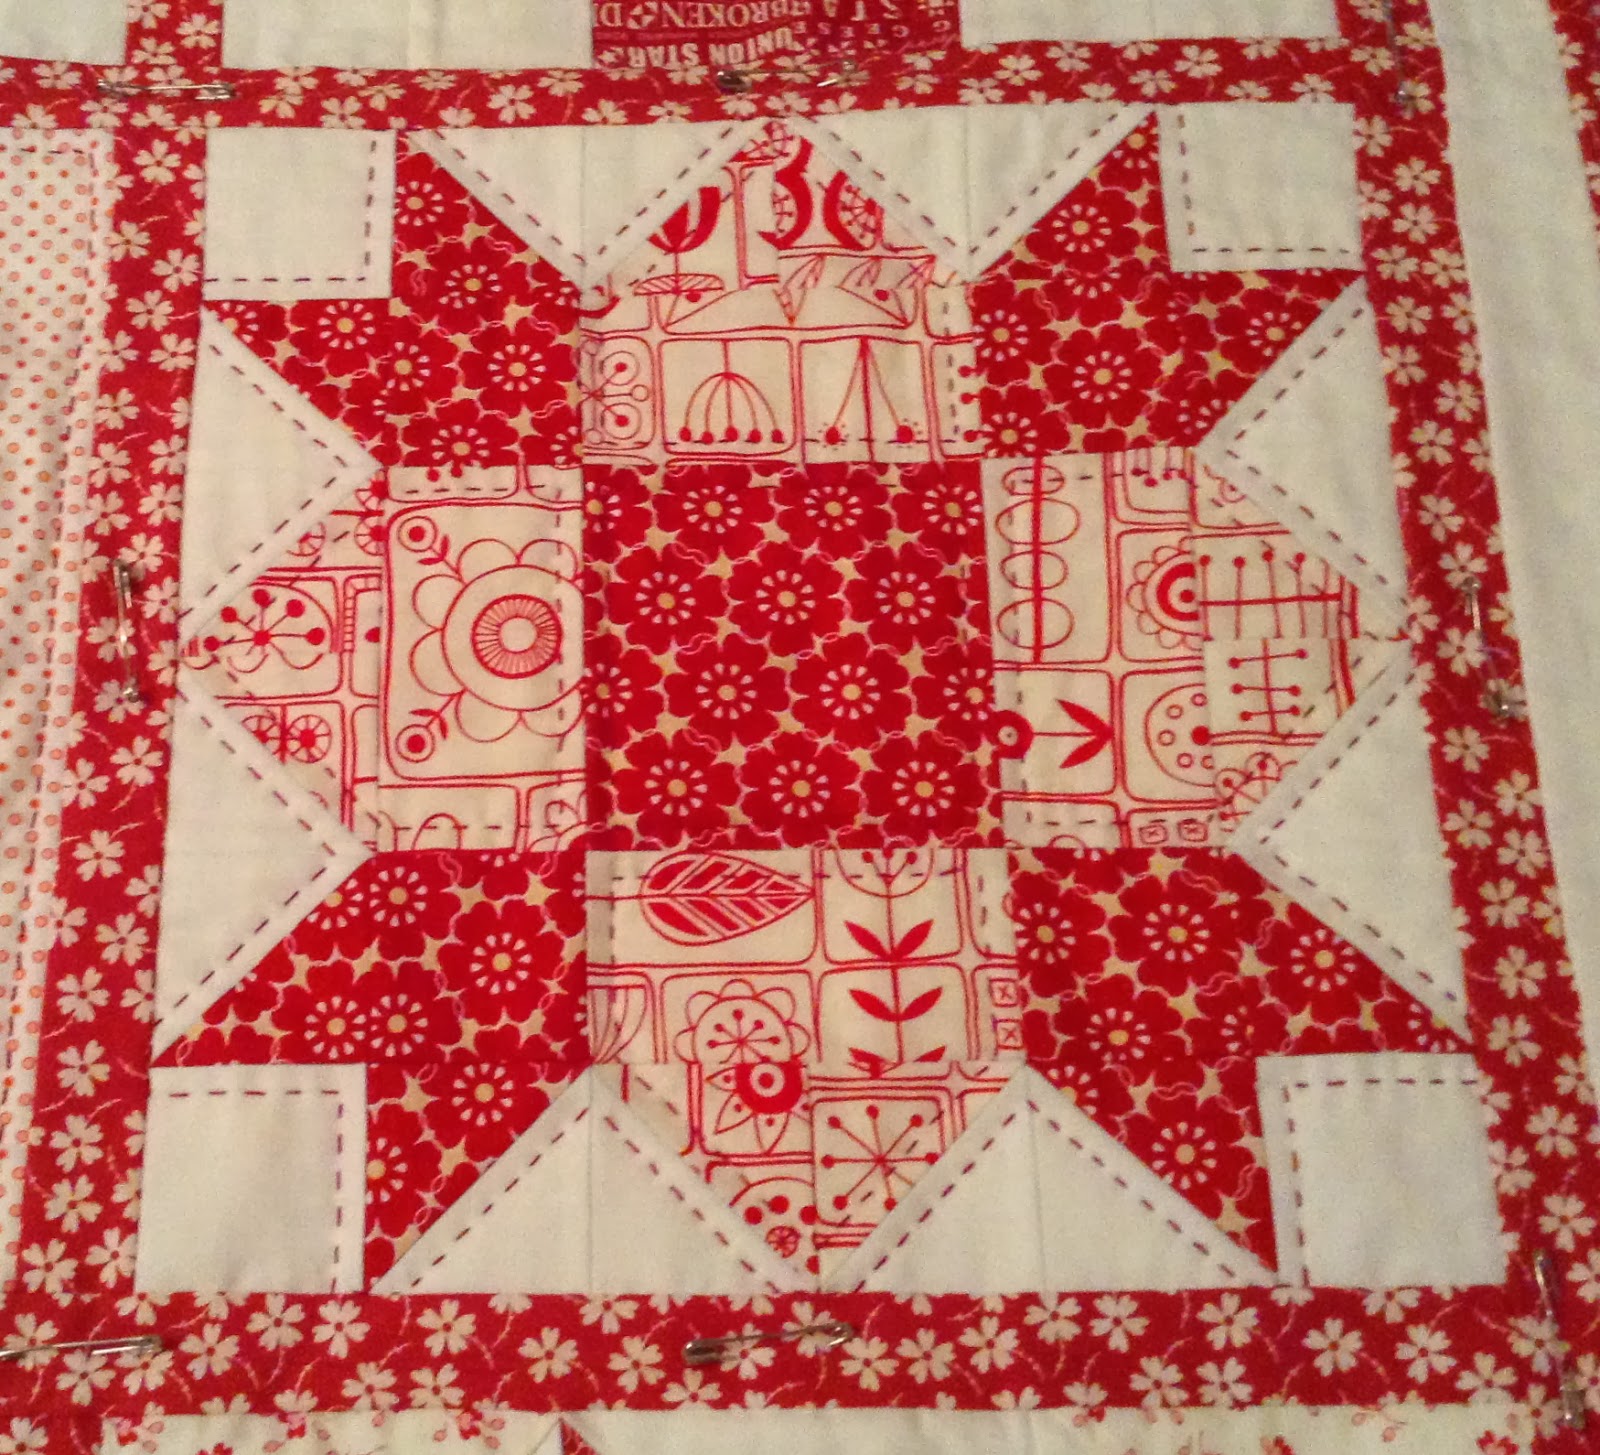
Although it has been almost a month since I wrote about starting to handquilt my red and cream hipBees sampler quilt, it isn't languishing in the corner as a forgotten UFO.  I've been trying to sneak in a wee bit more handquilting here and there.  Admittedly, it is slow going but I think the results are worth it.


Some of the blocks are very obvious about how they should be quilted in outline.


Others raise questions about whether the white outline stitching is enough.  (I did quilt in the red corner squares and centre square, but you can't really see the red thread here in this photo.)


Occasionally, I find it hard to make the right decision and I've managed to quilt myself into a bit of a pickle now and again as in the block above.  I kind of got myself a little confused where the star point outlines overlap and think there probably was a neater way of doing this one, but hey, every day's a learning day!


I think the back stitching looks kinda cool too, don't you?

8 down, 8 to go!  Come on, Sarah, keep at it!

Tuesday, 8 October 2013

Making Me Smile -41/52

Scrumptious!!!
I snapped up a layer cake and some text prints and low volume dots when Pink Castle fabrics had their 30% fall discount a few weekends ago. Beauties at a great price, smiling big over here!

Friday, 4 October 2013

Modern Stitching Bee -October


Emily is this month's Queen Bee in the Modern Stitching Bee and has asked for highly contrasting log cabin blocks with low volume strips on one half and mainly blues to navys on the other. She has thrown in a wee red centre and a touch of yellow and green too.

These blocks are going to look smashing in a quilt and there will be so many possibilities for the layout. I wonder which she'll choose? I must admit to a little trepidation that my stash might not have quite been up to the selection of the right shades of blue, but fingers crossed they might just scrape by.

So, that's one set of October Bee Blocks sorted. Hoping to do the hipbees ones soon.

Thursday, 3 October 2013

Making Me Smile - 40/52


Audrey sent me a Making Me Smile card this week! How thoughtful is that? Both the card and its contents brought a smile to my face this weekend.

Audrey is not a blogger but she is a fabulous supporter of Bee Blessed and has been a top contributor to the Siblings Together block drive too. Her beautiful stitching and generosity are sure to bring smiles to a lot more faces than mine.

Thank you Audrey!


Wednesday, 2 October 2013

Siblings Together Blocks


More fantastic blocks arrived last weekend from Jo for the Siblings Together Block Drive. It's getting exciting as so many blocks are now in with the rest due later this month. Then the decisions of placement of so many lovely blocks will begin. I imagine I shall be putting the open space of my lounge floor to good use for that!
Thank you Jo!

Tuesday, 1 October 2013

Bee Blessed October Scrap Buster


It's that time again folks.  Time to tell all you wonderful generous Bee Blessed contributors what blocks we are making this month so that you can join in with us.  Ready for it?


This month I've decided that we need to work on busting those strippy bits in our stash, so the block is a quarter logcabin scrapbuster (for want of a better name or description).  Here's the how to:

Quarter Logcabin Scrapbuster Block - 12.5" unfinished

Assume 0.25" seam allowance throughout.

Colours:- please use fabrics in the mid-range of colours, ie not too dark (no navy, bottle green, brown or black).


You will need:

1 square of white cotton any size between 3.5"square and 6" square
selection of straight cut strips, varying widths.


Starting with your white square, add strips in a log cabin fashion first to the top and then to the right of the square.  Press all seams away from the centre.


Continue adding strips of varying width to the top and side building your block until it measures a little more than 12.5" square.


You should aim to have the final strips on each side measuring more than 1" when joined to your block.  Making the block a little larger than 12.5" will make it easier to achieve this without a lot of complicated calculations.


Take your oversized block to the cutting board and trim it carefully to 12.5"making sure that you keep the white square a square (if you trim the square on any one side, make sure you repeat on the other or you will end up with a white rectangle instead) and leaving the depth of the outer strips measuring at least 1" .


And, that's it, one block all pretty and complete.  If you enjoyed that, you could try another one.  I did.


I am hoping that these blocks will look as good in a quilt as they do in my head.  I think the randomly sized white squares will converge in a fun way


and then, on the secondary pattern there will be a lovely craziness of scrappy.  Well, fingers crossed.  Over to you now to prove me right!

Have fun reducing your scraps all in a good cause, and thank you in advance.


Related Posts Plugin for WordPress, Blogger...