

I'm back to show you where I'm heading with this little 'quilt in a pile' I showed you last time.
First off, I should tell you this quilt is totally inspired by a photo I came across on Pinterest a long time ago and has been floating around in my head ever since. To give credit where it's due, the inspiration for this make is known as the Have a Heart quilt by J Michelle Watts and there is a jelly roll friendly downloadable pattern for it here. Please do have a look if you're interested.
 .
.
As you can see from my sketch above, my original plan was to make a similar quilt but in a much smaller size as a wallhanging for my living room. I fattened up the shape of the heart a little, drafting on squared paper, and then blocked out a squared off outline to allow the quilt to be made from scrappy strips.
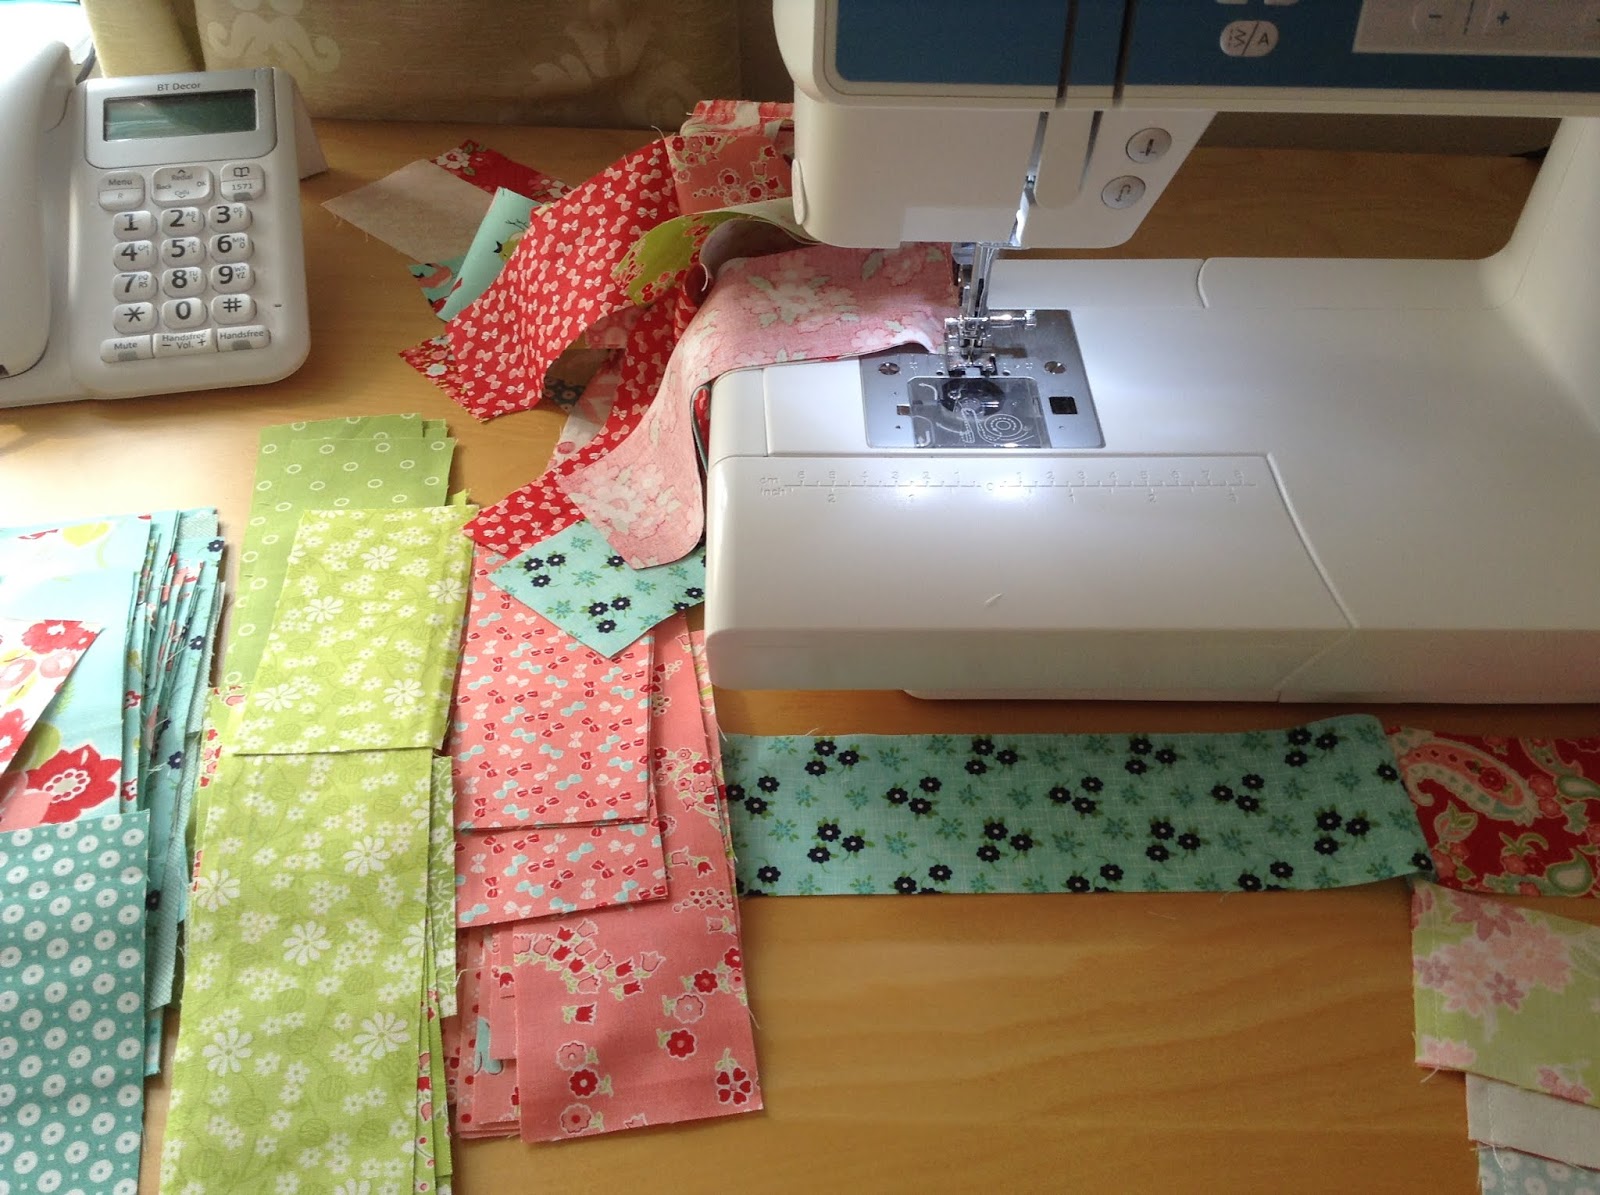
The first thing to do was to get piecing all those scrappy strips of Bonnie and Camille fabrics together. These will be the focus fabrics for my heart.

I just kept piecing pairs together, then pairs of pairs together and maybe a wee addition of a strip in a different colour to keep the same colours from meeting. Not too much thinking, just kept stitching ...

... and repeated with the low volume fabric cuts which will be the quilt background,

rolling them up into a continuous piece as I went. I didn't press my seams at all and still can't make up my mind if I should have done as I paired up the pieces. It would have made it quicker when it came to measuring and cutting, but it was no big shakes to press out a length, then cut it to size after.

Here were my two continuous rolls when I'd finished piecing. Still not convinced it looks enough for the whole quilt, but I guess time will tell if I did the calculations correctly!

The next stage is to work to my list of cutting sizes to make up each row of the quilt. It takes a bit more concentration late at night than I was hoping for ;-) but I am quite excited at seeing how it will actually come together!

No comments:
Post a Comment
Thanks for stopping by and leaving a comment. I do try to respond to every comment, but forgive me if occasionally time does not permit.