Did you know that the collective noun for a group of cushions is a "plump"? Well, so says Google anyway.
 |
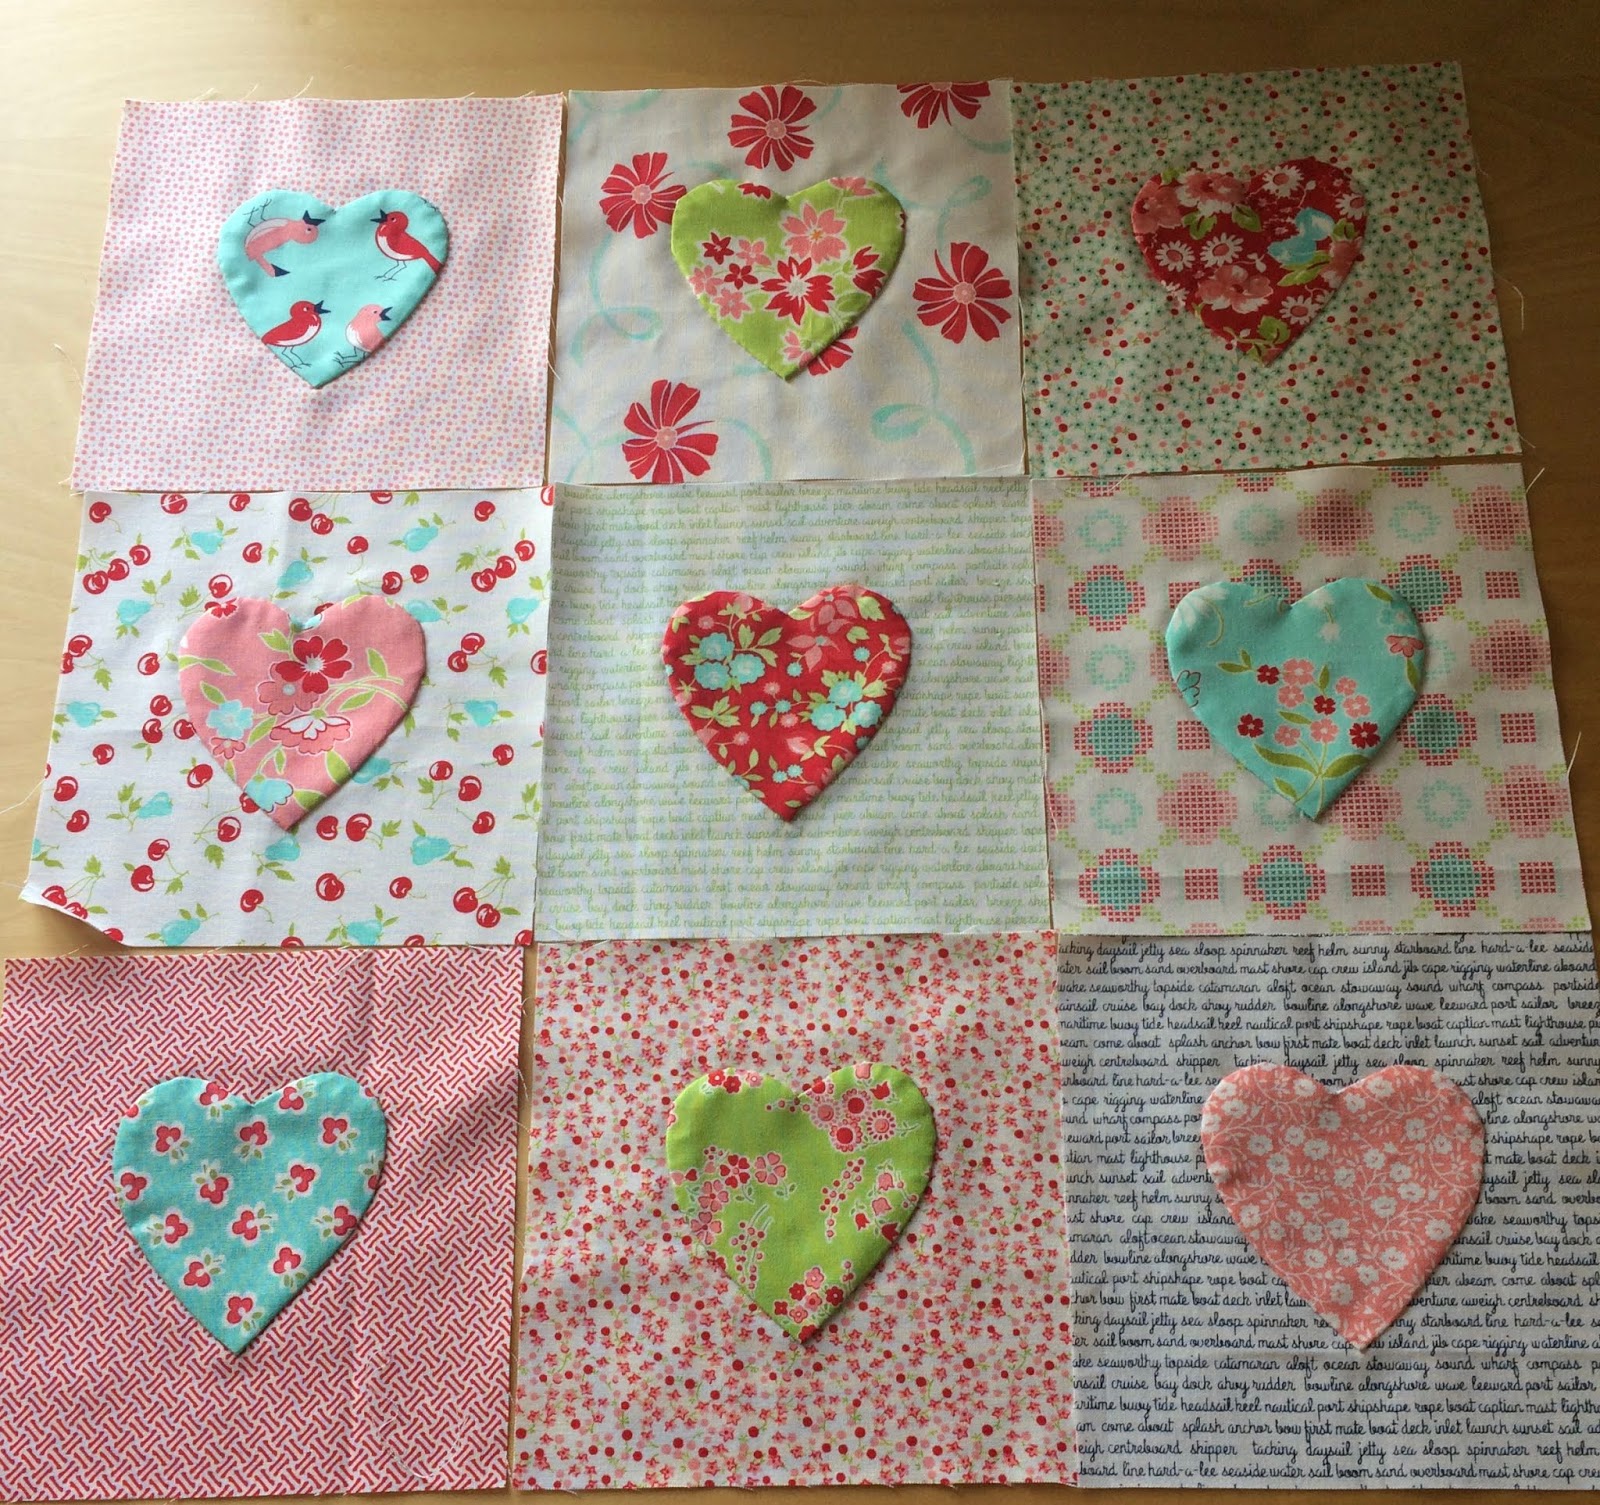
| Colours are a little faded looking in the grey February light. In real life they are much prettier. |
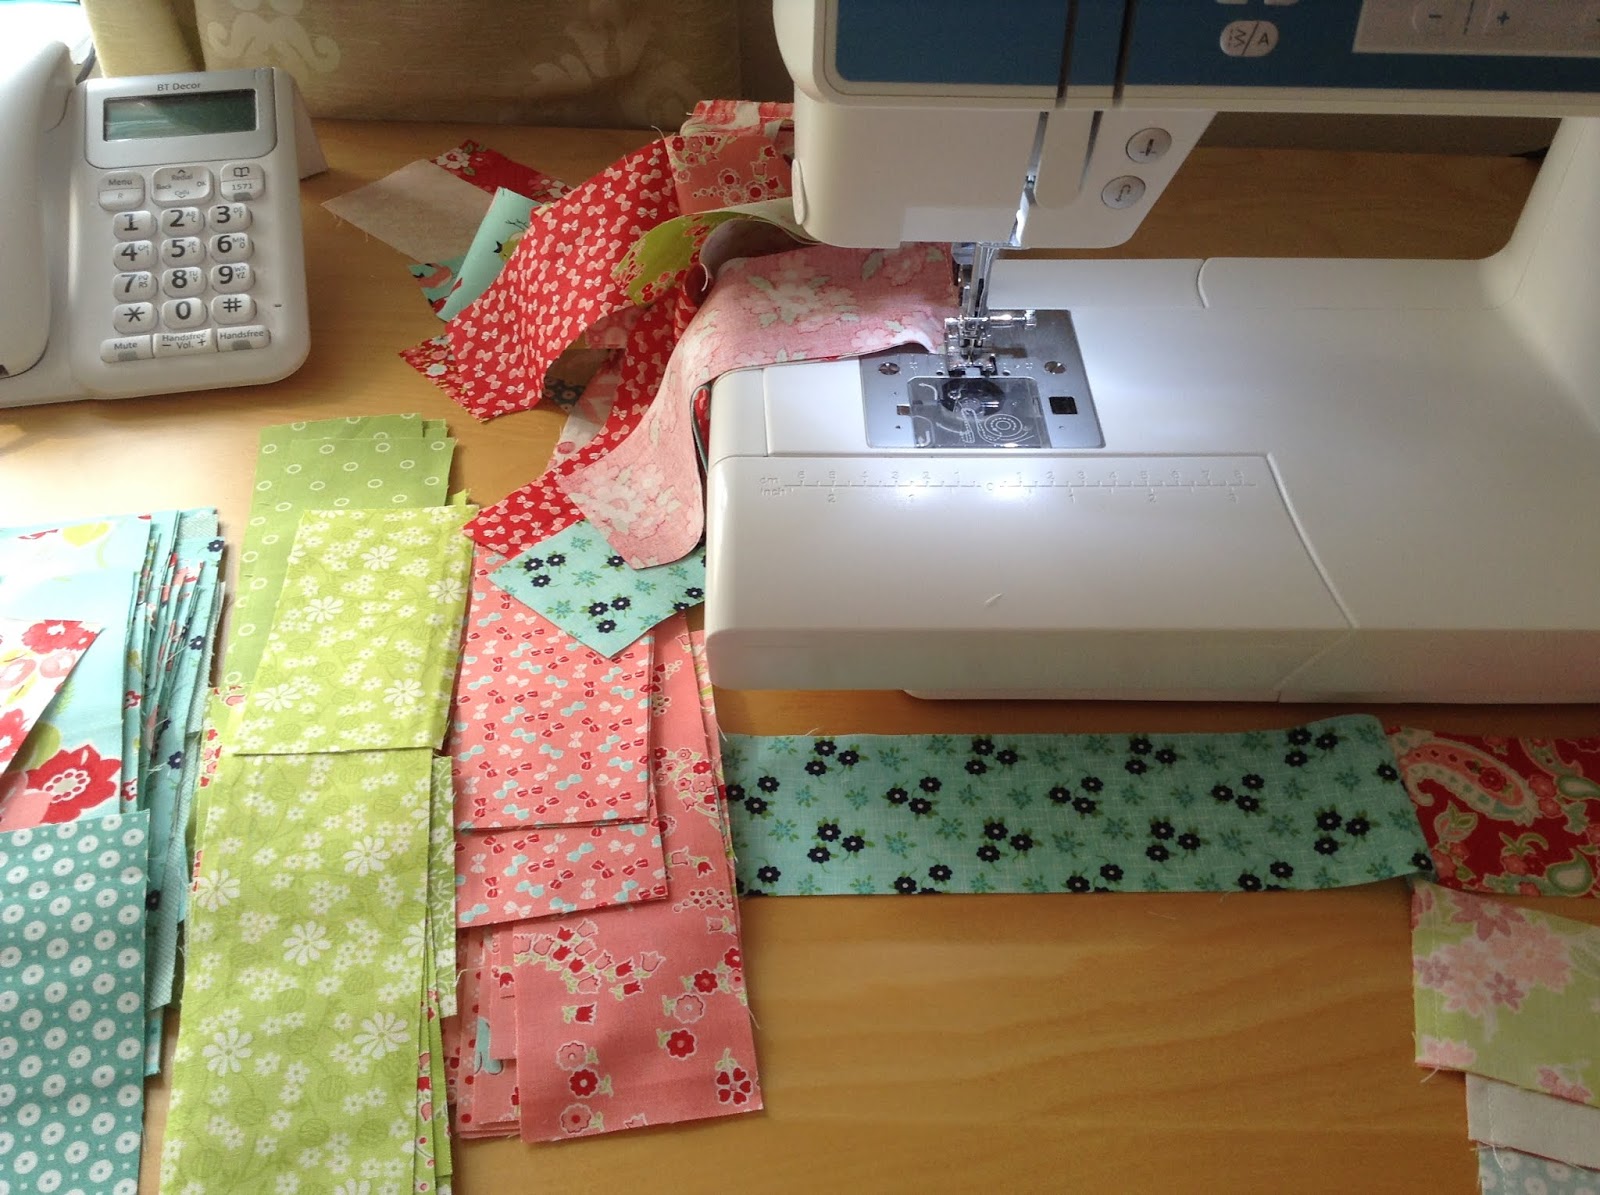
I've recently been on a cushion making spree inspired by tidying up some fabric left overs from quilts, and just wanting to make something smaller and more quickly finished than my quilts that take years nowadays. After the 30's repro fabric cushion, I raided a big box of Bonnie and Camille leftovers that needed organising back into my stash or scrap boxes. I pulled fabric for 3 new cushions.
I made another cushion to
Sedef's Scandi Throw Pillow tutorial (again re-sizing to 18.5"). The frugal part of me is bothered just a wee bit by how much fabric is "wasted" from this design, but actually because the offcuts are quite sizeable it will be possible to get other cuts from them another time.
So, this one was basically a rinse and repeat of the previous cushion.
The next two cushions are by FAR my favourites from this "plump". I've been keeping a pattern in mind for these for a very long time. Both cushion panels were published by Judith of
Just Jude Designs in Quilt Now Issue 15. Judith refers to these as dissected blocks as the traditional blocks have been expanded by a little border insert. I loved the patterns when I first saw them and am thrilled with the results after sewing them myself too!
There's the dissected courthouse steps cushion -
 |
| I need to buy new plump fillers to pooch this out better. |
I love the aqua and pink fabric colour ways I chose for this and if I lived in an all female household I would have a living room just these colours!
However, seeing as there are men in the house, I chose a little of Bonnie and Camille's navy boats print from Daysail to nod their direction. The dissected Granny block looks brilliant, and you'll see I snuck in the pink and aqua anyway ;-)
I had a little work to do resizing both of Judith's cushion panels from her originals which I think were for 22" cushion fillers, but which I needed to be 18". Courthouse Steps was pretty straightforward but my on point calculations for the Granny block were a little bit out and the main block came out at just 14.5" when I stitched it up. Then, I only had enough of the background fabric remaining to cut borders to bring it up to 17" square. My maths let me down this time, but I'm sure an 18" filler will squish in rightly, in spite of that.

All of these cushions were backed following
Judith's fab tutorial for a covered zipper backing which is very easily upscaled from her 16.5" cushion dimensions. It's a great way also to use some of the larger scale prints from my B&C stash which I find can be a bit lost when chopped into small squares, unless you fussy cut and waste a lot of the background.
I loved making all of them, all for different reasons, but I am mostly thrilled that I didn't forget to go back to Judith's patterns which I noted as of interest a long time ago. There were so worth making!!
I have more patterns from books and magazines that are on my "one day" list. It would be good to see more of them brought to life soon. I'll bet you all have some of those, too!