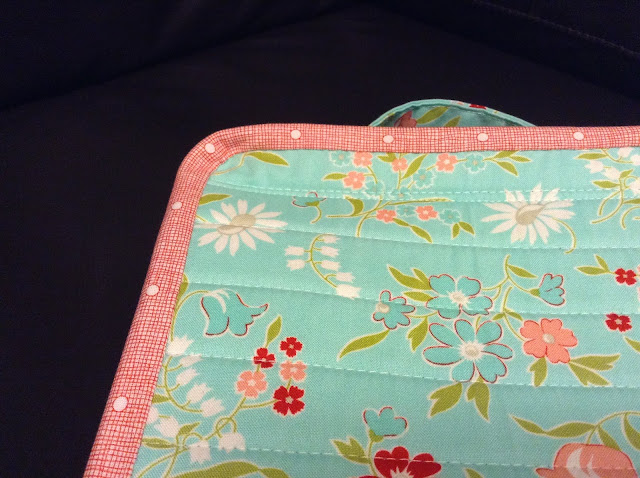
I finally finished my Hold Everything! Bag on Friday night. I'll be honest and admit to feeling a little battle scarred after this one. I didn't find the assembling of the individual elements of the bag an easy process, and in many instances am not sure I understood what the result of the written instructions should have been to know what I was aiming for (if that makes sense).
I realised how spoiled I have been to have been taught by Judith and her fabulous patterns which are so well supported by explanation and photos of many individual stages. I really could have done with more photos to show how to manoeuvre the bag through the machine and what some of the detail on the finishes was supposed to be. I guess ultimately, it was just too technical for my abilities but a more experienced bag sewist would probably get on very well with it.
This is the perfect size for what I wanted, but I wonder if its being smaller made it more awkward to work with in the final assembly, or maybe I would have encountered just the same problems with the larger version given my inexperience at this kind of construction and binding. Who knows?
Inside, there are vinyl pockets on the inner front and back of the case itself,
and then, four removable pockets attached by velcro.
It should be a handy little project case for EPP and embroidery and associated notions. I'm just hoping that my dubious worksmanship with hold up over time.
I also, have puckers around the 'spine' area of the bag binding - I really did struggle working in and out of those corners.
There's also a matter of a raw edge just at the inside of the case zipper tape. I think perhaps the zips recommended by the pattern have a wider tape than my zips did, and so, if I had used the correct supplies, this particular issue would have been averted and the raw edge enclosed when stitching down the zip edge.
All in all, the case redeems itself by looking pretty in Bonnie and Camille prints, but I am a little disappointed that I was unable to execute better finishes. Next time, I guess I would know what issues I need to resolve, but truthfully, I never envisage there being a next time for this pattern and me.
You win some, you lose some.


looks great I know working smaller can sometimes be more fiddly. A friend has just tested Judith`s boro bag pattern I was so impressed when I saw it but know I could never make it!
ReplyDeleteThis is gorgeous but it does look like a lot of work. x
ReplyDeleteI think your bag look great! Don't be so hard on yourself. When I make a bag for the first time, I consider it my test project. Also, when I make a pattern for the first time, I go back and write notes to myself on the pattern. You should be very proud of this bag! SEW cute!
ReplyDelete