

A few months back when I was making my own See-it-all and Two-in-one pouches I did a little bit of secret sewing for gifts on the side. My IG followers will know that I just spent the weekend away with my sewing buddies and with that event ahead of me, I desperately wanted to take them a gift I had actually sewed for them.

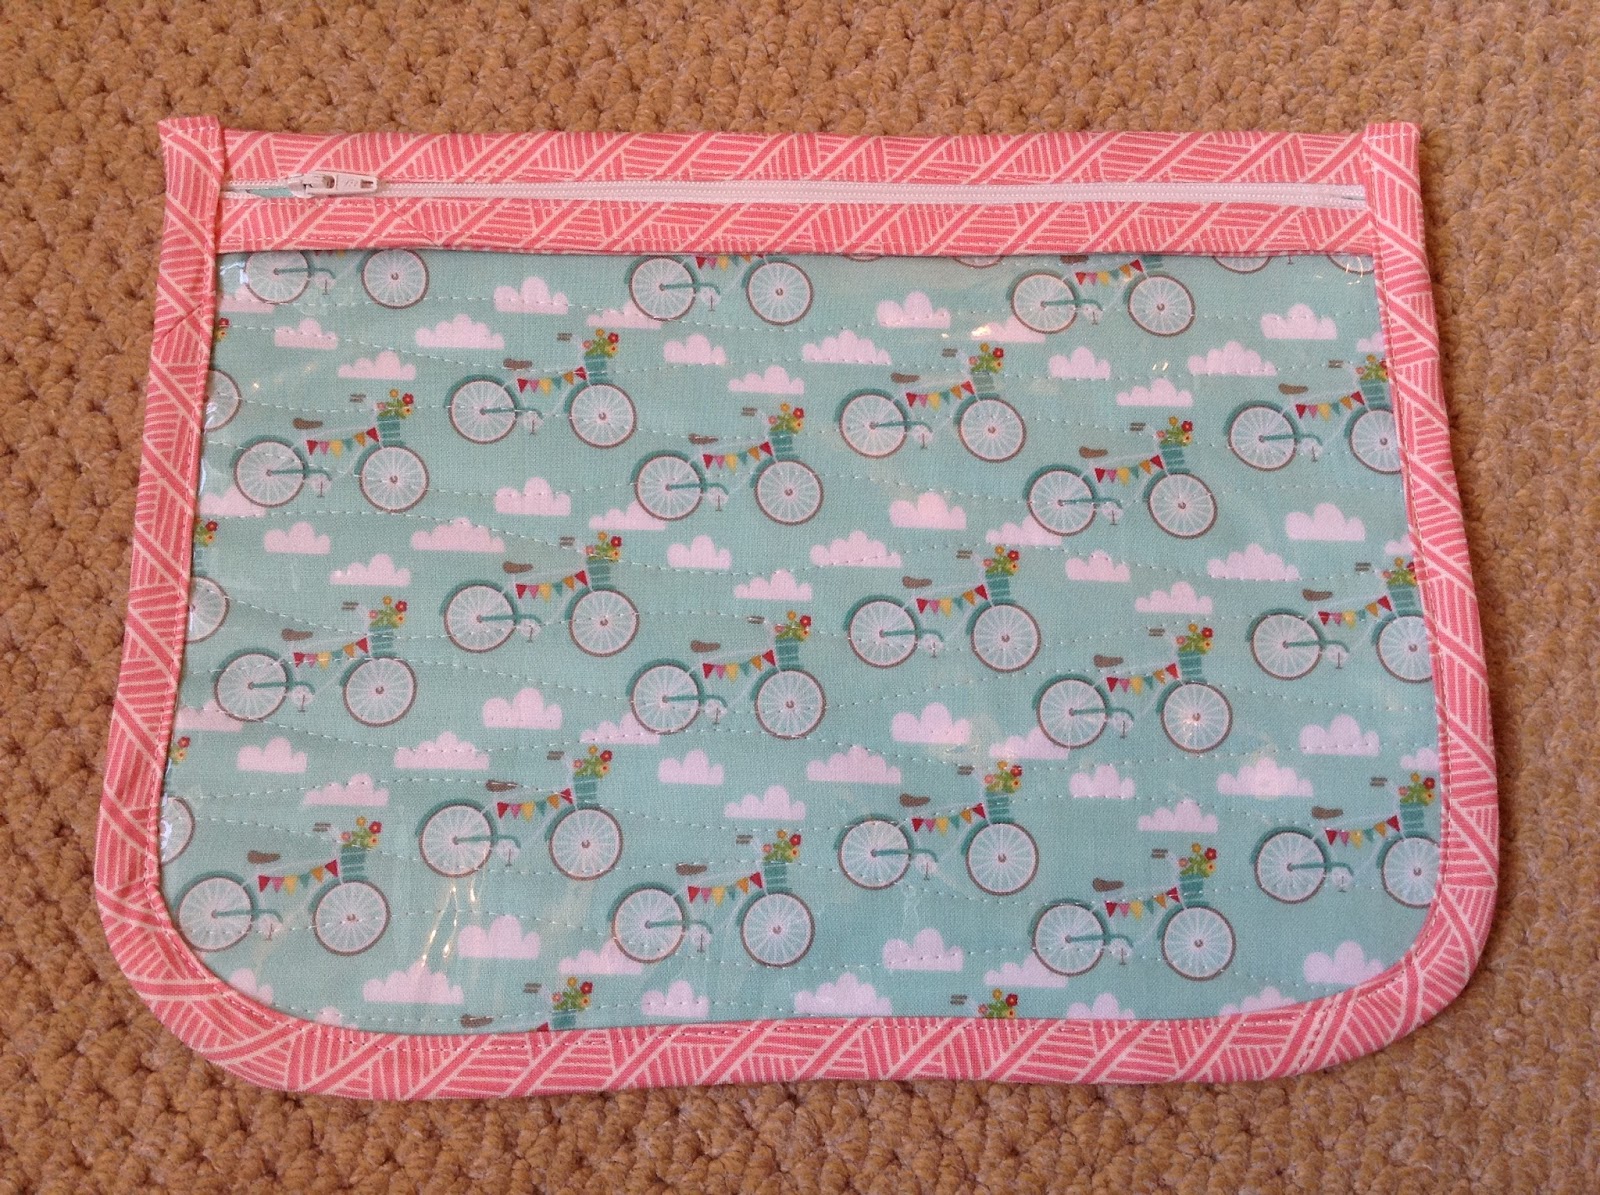
I tried to work from stash and after much deliberation about fabrics to suit each individually, I plumped for just using this fun bicycle print for everyone.

That these pouches got made is something of a minor miracle for there were so many mistakes in their making that you just could NOT make it up. My mistakes, by the way, not pattern mistakes.
Firstly, there should have been enough fabric to make a fourth pouch for me with the bicycles, too, but a cutting error put paid to that plan, and you'll have noticed that my own pouch is a lovely floral and red combination.

Then, I had problems attaching the biased binding as the top enclosure of the zipper. See those ugly wrinkles? Ugh!
Eventually, I resolved the issue with a lot of help from IG friends - I starched the life out of the binding and re-pressed it, I reduced the pressure on my sewing foot, increased my stitch length and sewed very, very carefully.

There were many attempts at getting these top bindings sorted - the yellow one was unpicked at least five times!!! While they are not absolutely wrinkle free now, they are much, much improved.
My pouch fiascos did not end there peeps, oh no!
One of the pouches had a melting encounter with the back edge of the iron as I pressed the binding on a different pouch and forgot I'd set the poor, soon-to-be melted one just a little bit offside, but not offside enough! Since the melt was right on the edge of the vinyl I managed to salvage the pouch just by trimming away the bottom edge. So it's a bit shorter than the others.

Another one is a bit narrower than its sisters thanks to some cross transfer of the sharpie markings I had used to draw the template shape on to the vinyl. No idea how that happened, but I did gasp after I has resolved the bias binding issue to find extra black marks half an inch into the vinyl! Trim, trim, trim and breathe ...
Are you still with this saga?

I think by this stage I was getting a little bit discouraged and disillusioned about my clearly out-of-practice sewing skills. Knowing that I had the final bias bindings to add along the sides, around the curves and up the other sides of all the pouches wasn't helping either, given the traumas of binding the zippers.

But you know what? They actually went on pretty smoothly and without the dramas of the first lot of bindings. (My tip, use straight cut pieces to bind your zips and leave the bias cut binding to do the job of curves it is designed for.)
After that comedy of errors I can hardly believe that three See-it-all pouches were actually, finally finished and ready for the addition of a few treats before gifting! They look sort of cute, in spite of their inadequacies, wouldn't you say?
This comment has been removed by the author.
ReplyDeleteThese look fabulous, although they do sound as if they were a nightmare to make. x
ReplyDeleteThey look really cute! I love the bicycle fabric! Sometimes, life of a quilter is difficult! But...quilters are good in adapting and finding solutions!!!!
ReplyDeleteLaughing here, because I had my own version of "easy pouches" -- not the same pattern but it took me about 13 errors before I had one that was totally perfect! By that time I was out of fusible, fabric, zippers and pizzazz! Trimming reduced several of them to unusable sizes! LOL
ReplyDeleteAfter your encounter with the melting kind , I think I would have screamed after the sharpie incident ! It looks as if you had a great time anyway
ReplyDeleteThey're lovely!
ReplyDelete