I have finally had a chance to use my Quilty Fun book to do more than just look through and swoon over. Yes, I actually made something from it!

It's not a very big something, admittedly, but it's made using this super cute Spring Tulip Pattern in Lori Holt's book. Would you like to see what I made?
Ta da!
It's a mini spring tulip window quilt! Are you wondering why this is a window quilt? Let me explain.
 |
| Photo courtesy of Ikea website |
Coming soon(ish) to our house for little Miss CT's enjoyment is the Ikea children's kitchen and well, it's a great little kitchen but it needs a bit of prettifying and some 'personality'. So, I made a few fun kitchen accessories to brighten things up!
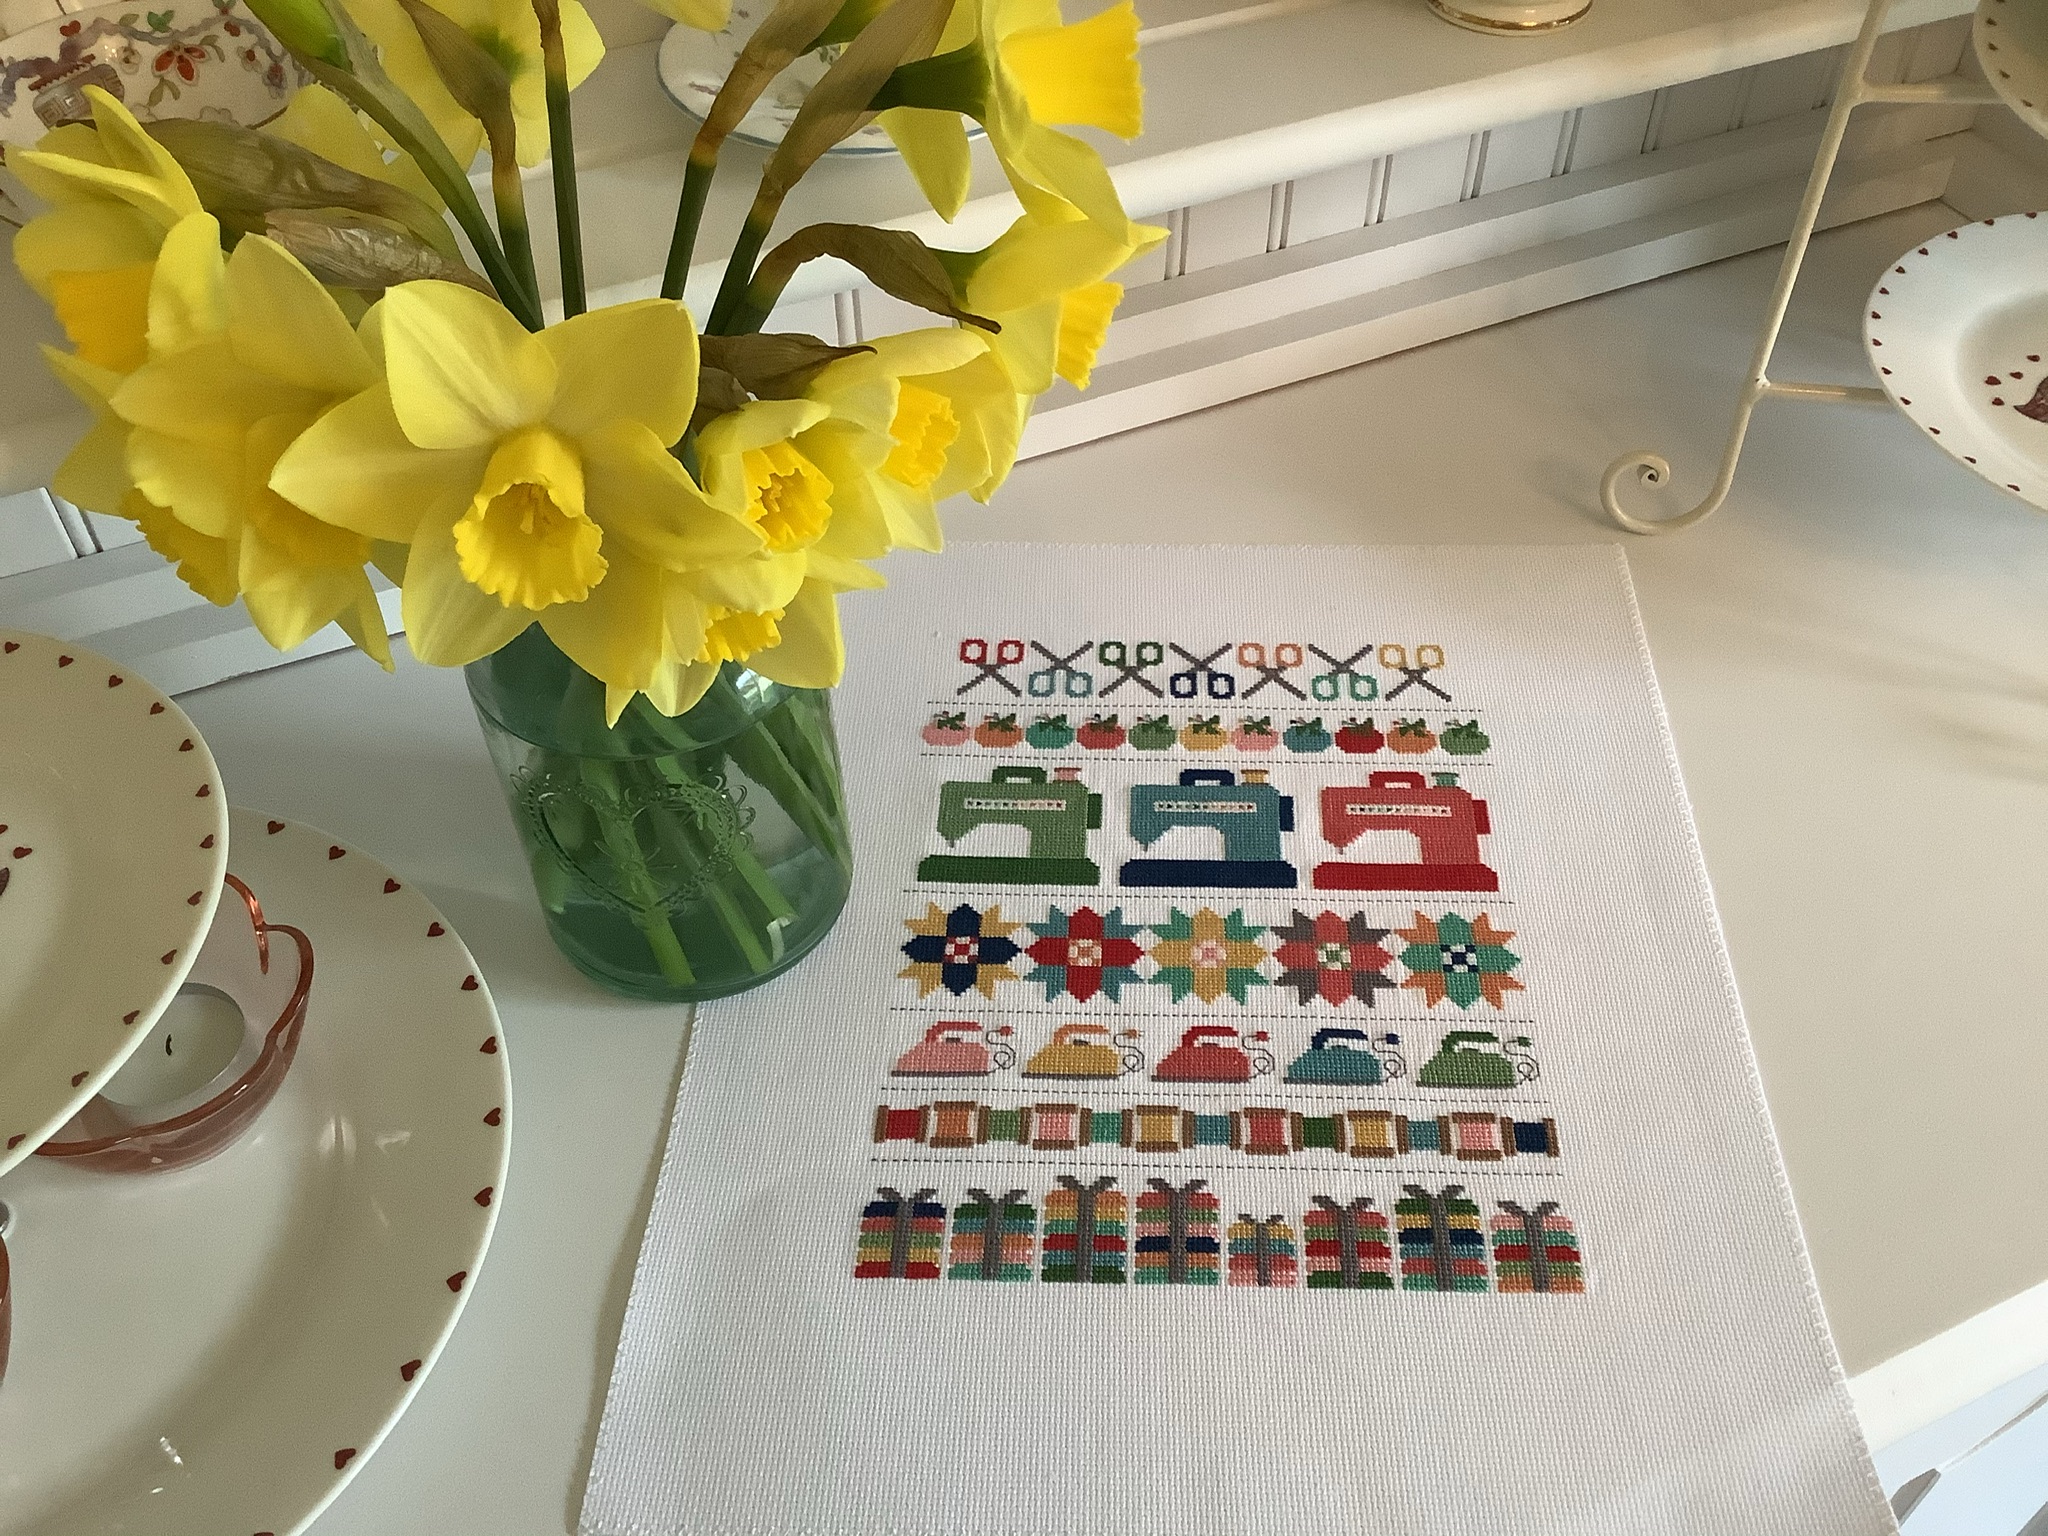
I stitched up a simple tea towel with pretty lace trim which is much too extravagant to ever touch a wet dish, but oh it's so pretty and was a perfect excuse to use some long stashed Lori Holt fabric.
Then, I had fun figuring out how to make some mini oven gloves and am quite proud of the results. I'm really hoping Missy likes these because she is rather fond of my old, dingy pair.
Of course, every little chef should have a reversible Lori Holt apron too, don't you agree? My figuring out for the apron was a bit iffy, but I have since rectified the positioning of those ties so that they are right at the top of the apron sides. More haste, less speed the night I was stitching this, I think.
But, I digress. I have left you hanging about the window quilt, haven't I?
Well, along with the tea towel, oven gloves and apron, I wanted to hang something from that little rail you can see above the kitchen's sink and hob. I considered simple little curtains, but making a mini quilt to hang there when there's already a rod in place, and when I have Lori Holt's book to inspire me, just seemed like a better solution to me.
So, yes, I have been a crazy lady in the Ikea store (and at one of our playgroups who have this kitchen) using a tape measure to record dimensions of rod widths, drop height and the space between the handles on the cupboards - you know, so that the oven gloves can hang there ;-) Gone too far, do you think? (No need to answer, I already know.)
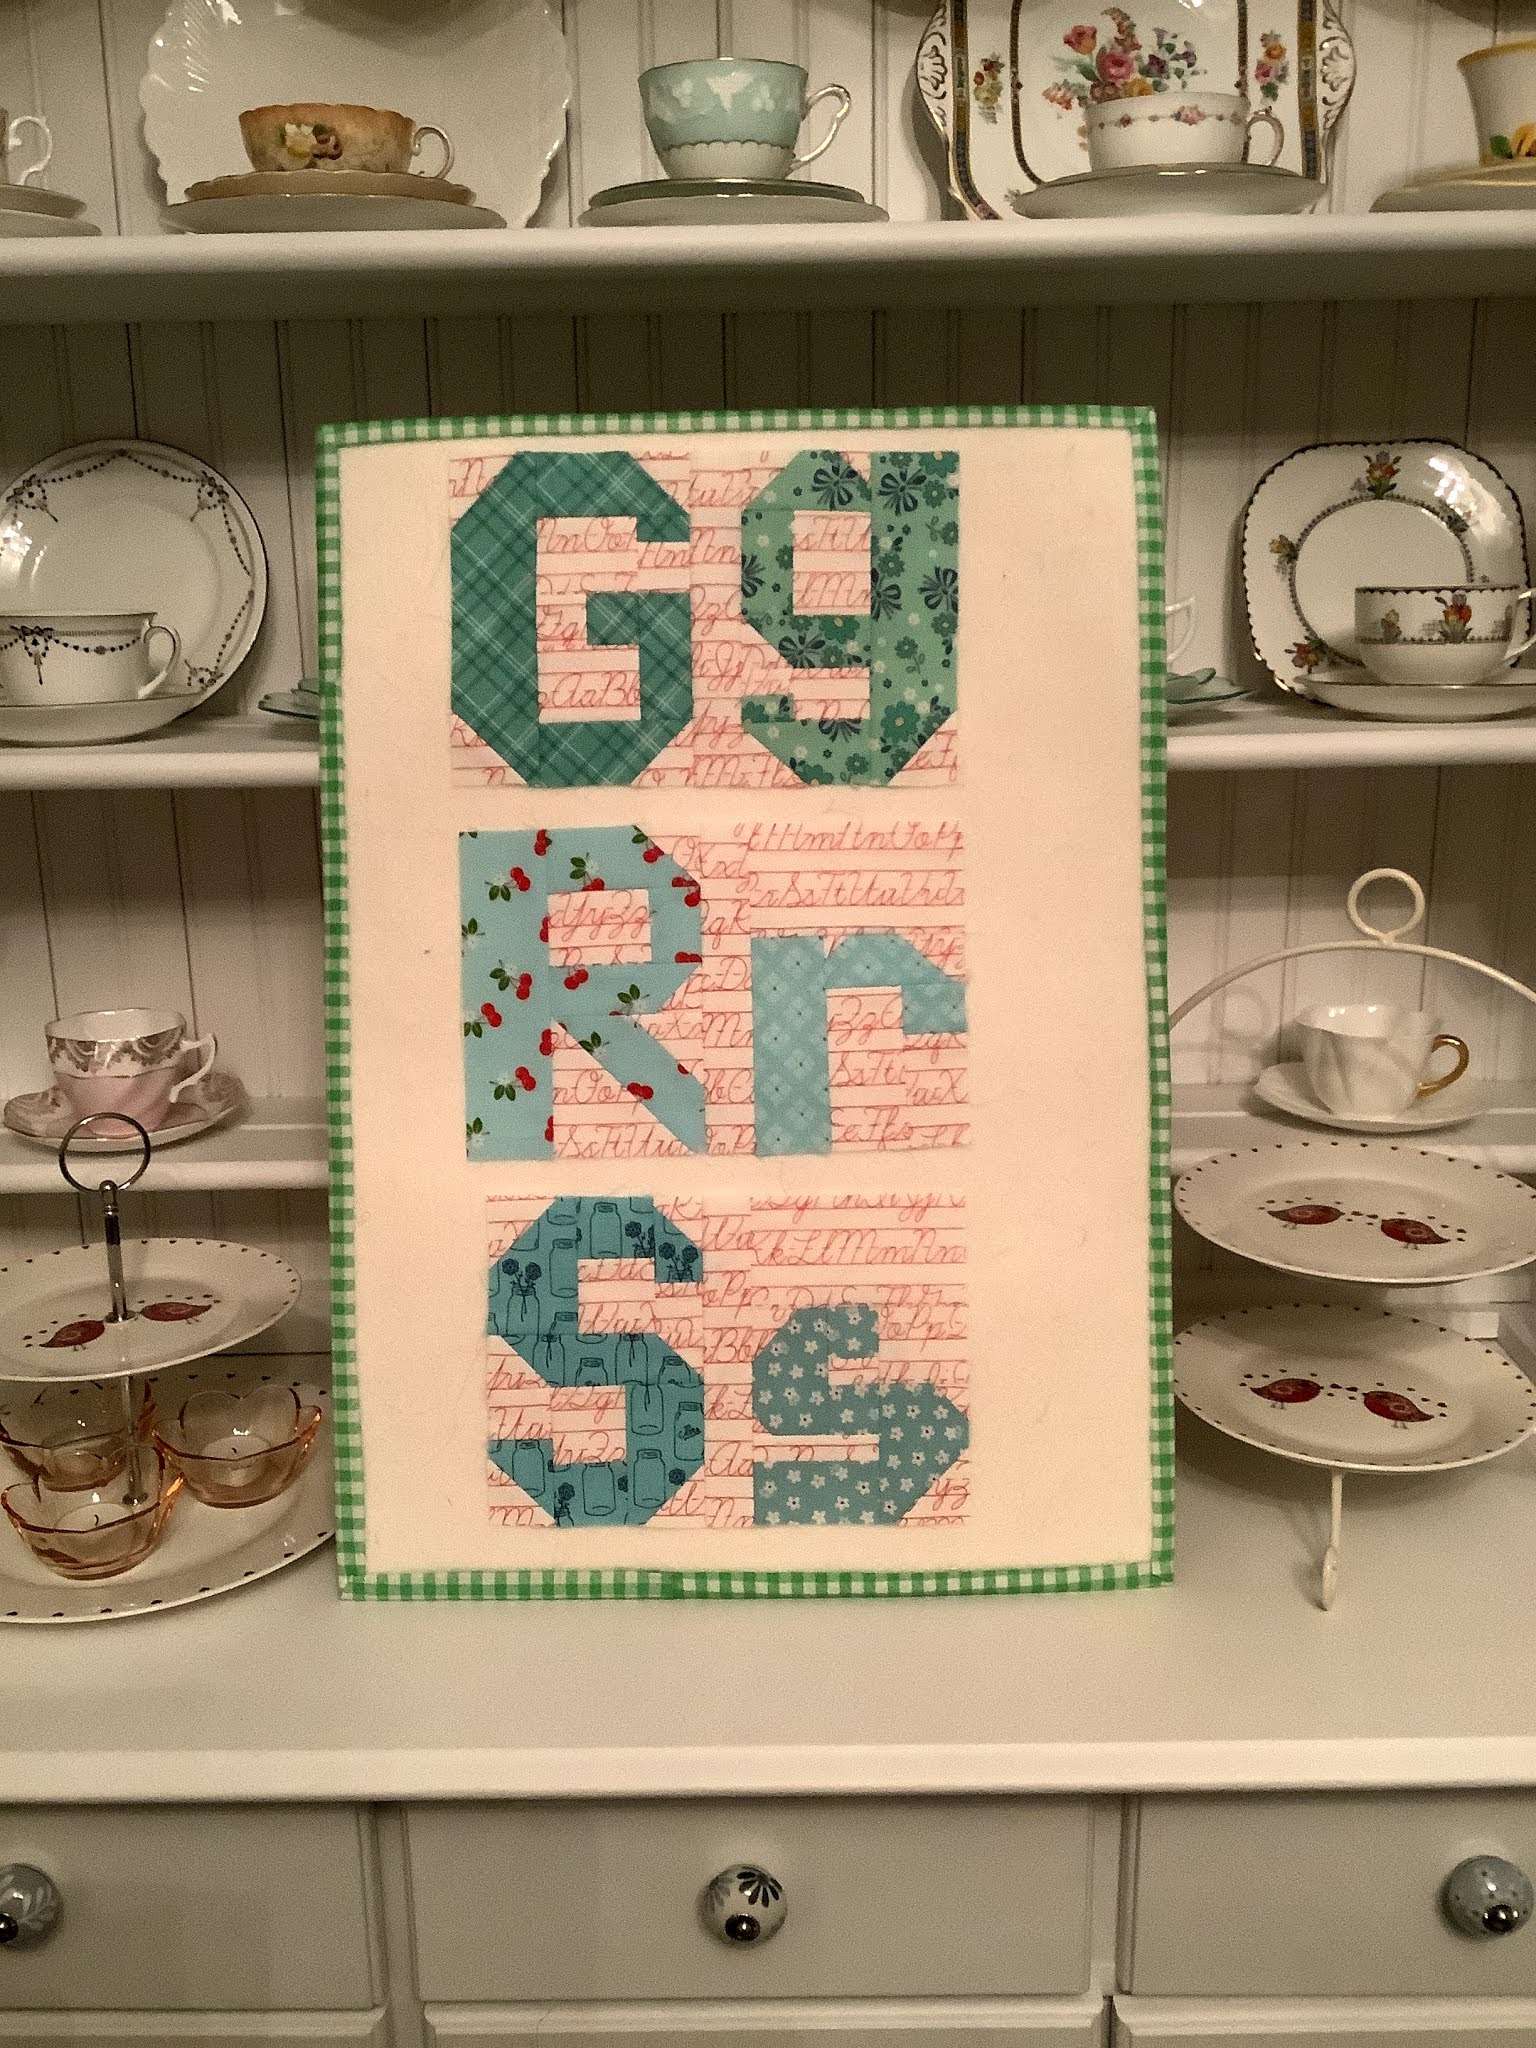
I used Lori's Spring Tulips to create a little quilt that is approx 25" x 10" and the plan is that it will hang over the rail in place of the intended utensils on their hooks. (Funnily enough, I have decided against giving little Miss Tornado her own set of metal utensils and pots and pans with which to create even more 'symphonies' on my tiled kitchen floor every day - plastic all the way for us at this noisy phase of her life. Do you like my optimism calling it a "phase"?)
I want the quilt to be a little backdrop for her kitchen, like looking out the window to see a little happy row of tulips!! So, that's why it's a window quilt. With me?
After the patchwork piecing, I kept the quilting to simple echo lines around the tulips and a little bit of stitch in the ditch around the borders.
I thought I'd show you the velcro tabs I made for hanging this mini quilt. Once the little kitchen is built, the rod will be fixed in place and therefore not possible to pop out and slide through a normal hanging sleeve. My solution was to make three fabric tabs and stitch velcro a quarter inch from the top and bottom of the inside of the tab piece. Then, I hand stitched the tabs in place, catching a little bit of wadding in as I went (but not the front of the quilt) for added stability.
Can you see the line my hera marker made on that middle tab in the photo above? That line is 1" closer to the bottom of the tab than the top of the tab. It is the line at which I folded the tab and stitched it in place. It allows an extra inch on the top part of the tab for the space taken up by the rod.
Do you see what I mean? If you've made a hanging sleeve before you probably understand what it is I'm trying to explain. I'm really happy with how these tabs worked out.
Here's the quilt again, just because I like to look at it! Happy Lori Holt and Riley Blake fabric in all its cuteness. Now I just have to hope that I measured everything correctly and it all fits when the kitchen is assembled!
I wish I could see it all together now, but I'll try to take an update pic to share with you when the time comes. For now, Mama Elf's job is done.
I'm also declaring this a finish for my
FAL 2017 Quarter 4 list.
ETA - for pictures of the finished kitchen, click
here.